I spent years telling myself I needed a gym membership to get stronger. Then my left knee started complaining about deep loaded squats, my work schedule got busier, and the drive to the gym started feeling like the hardest part of the workout. So I cleared one half of the two-car garage, laid down rubber stall mats, and bought a set of TheFitLife resistance bands. Eight months later, I am in better shape than I was in my forties, and I have not set foot in a gym since.
If you are short on time, space, or patience for gym parking lots, resistance bands are the most practical way to strength train at home. They take up almost no room, they are quiet, and they are gentle on joints that have seen better days. Here is the exact setup and the five-step routine I use three or four mornings a week.
The Set I Use Every Morning
TheFitLife Resistance Bands Set comes with five tubes, handles, a door anchor, and ankle straps. It covers every exercise in this routine, and it stores in a small pouch when you are done.
Amazon Check Today's Price on Amazon →Step 1: Set Up Your Space and Your Bands
You do not need a dedicated home gym. I use one half of a two-car garage with rubber stall mats on the floor, a box fan for warm mornings, and a small TV on a shelf for keeping score of whatever game is on. The whole setup takes about ten minutes the first time, and two minutes after that. I measured the footprint once, mostly out of curiosity: the pouch, the mats, and the fan all fit in a corner roughly four feet by six feet, which means the other half of the garage still holds Carmen's car and my workbench.
The TheFitLife set comes with five bands in different resistances, two handles, a door anchor, and ankle straps. Before your first workout, clip the lightest band to a handle and test it with a few rows. You want a band that lets you complete about ten reps with good form, with the last two reps feeling challenging. If the lightest band feels too easy, move up one. If you cannot finish ten clean reps, move down one. I made the mistake of starting on the second band my first week and spent three days with shoulders that felt like I had been hanging from a bar. The light band felt almost too easy for the first two workouts, and that was exactly the point.
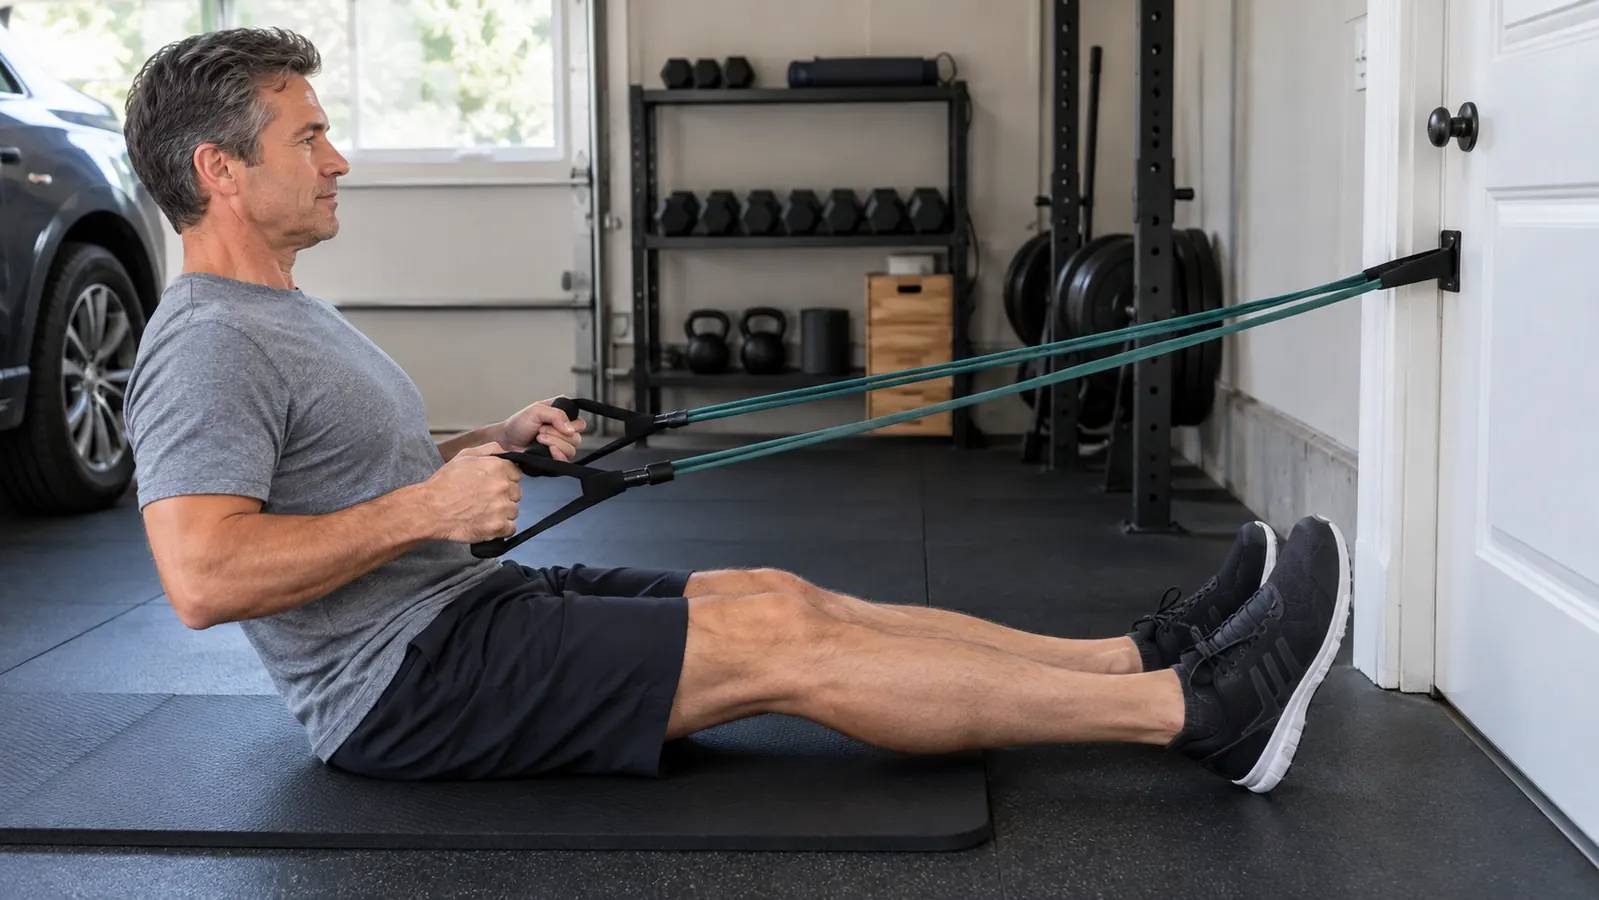
Attach the door anchor at chest height for rows, at floor level for leg work, and at head height for presses. The anchor slides into the gap between the door and the frame, and the strap loops around the door handle on the other side. Close the door, give it a firm tug, and you are ready. The first time I set it up, I used the door to the laundry room and did not close it all the way. The anchor slipped mid-row, the handle snapped back, and I spent a minute checking that nothing in the room had broken. Close the door fully. It takes one second and saves you from that exact moment.
Step 2: Warm Up With Light Bands
I am 51, and I have learned that skipping a warm-up is how you pull something you cannot afford to pull. Five minutes with the lightest band is enough. Do banded shoulder presses, banded rows, and banded glute bridges at a slow, controlled pace. The goal is to get blood moving, not to exhaust yourself. On a cold January morning, I give myself an extra minute or two. The garage is not heated, and my muscles notice the difference when it is 48 degrees out there.
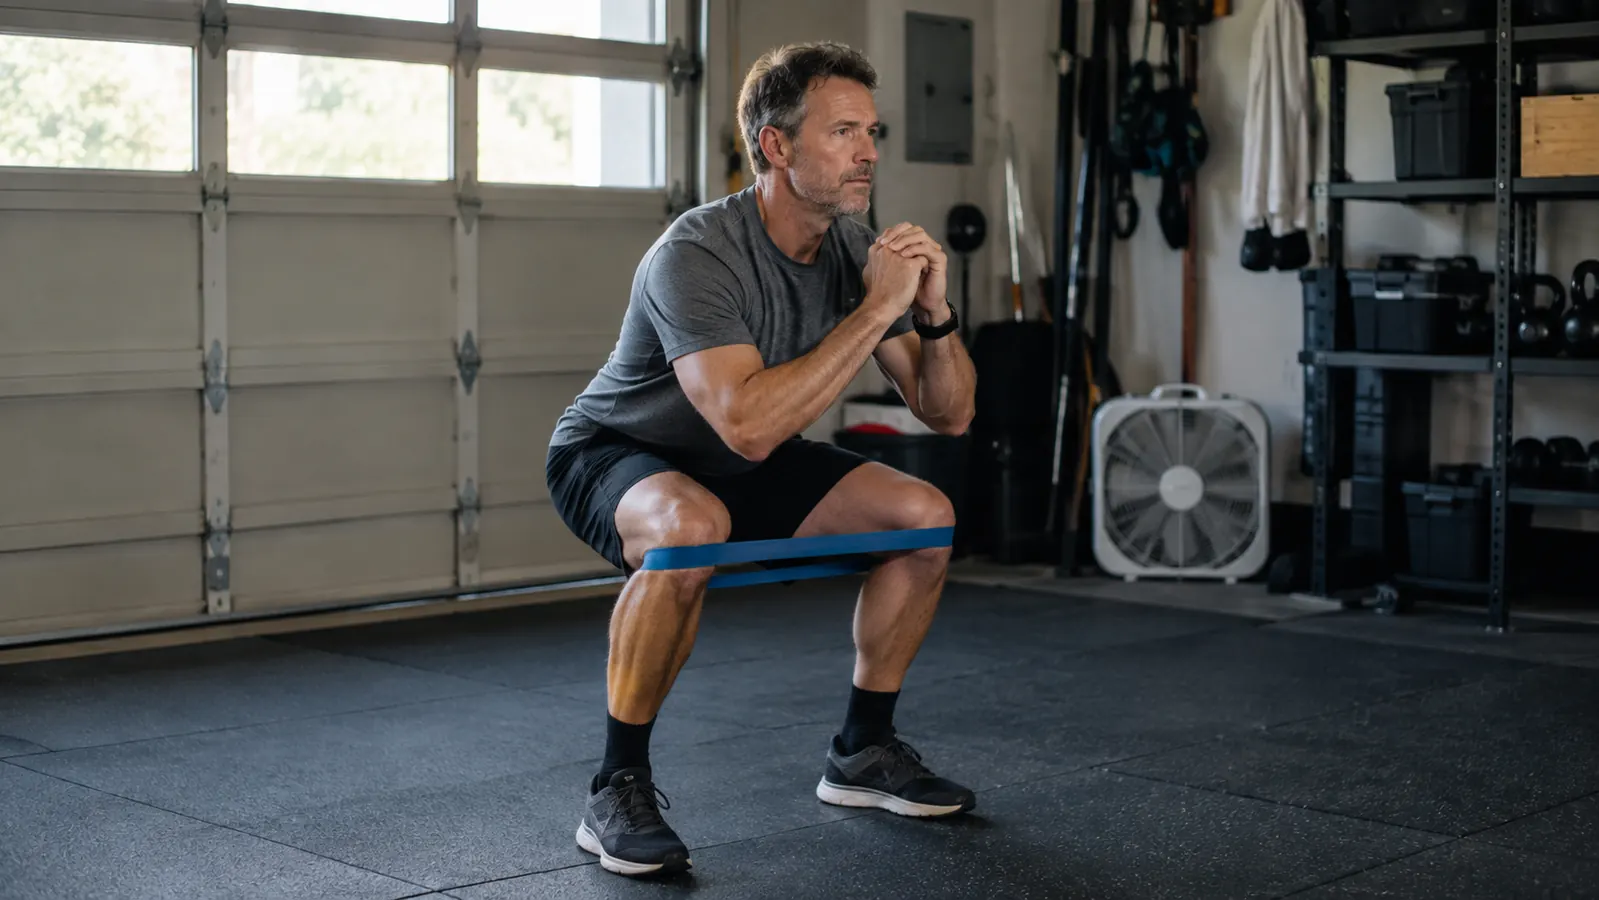
For my left knee, I add a few banded side steps. Loop the lightest band around both ankles, keep your feet shoulder-width apart, and take ten small steps to the right, then ten back to the left. This wakes up the glute medius, which takes pressure off the knee. It is the single most useful warm-up I have found for a cranky joint. I started with five steps each way and worked up to ten over a couple of weeks. On days when the knee feels tight, I do two sets instead of one, and it makes a real difference by the time I get to the squats.
Step 3: Run the Main Circuit
The main workout is a circuit of five exercises, done in order, with about 45 seconds of rest between rounds. I do three rounds total, three or four mornings a week, and the whole thing takes about 30 minutes. I set a timer on the small TV shelf, and I do not let myself skip the rest. When I first started, I tried to power through with no rest and found myself winded by the second round, with sloppy form on the chest press. The 45 seconds is what keeps the last round as clean as the first.
First, banded squats. Stand on the center of the band with your feet shoulder-width apart, hold the handles at shoulder height, and squat down until your thighs are about parallel to the floor. The band adds resistance on the way up, which is exactly where your legs are strongest. With a cranky knee, I keep the depth comfortable and never force it. On a good day I go to parallel. On a tight day I stop a few inches higher and count it as a win. The band does not punish you for that the way a barbell would.
Second, banded rows. Anchor the band at chest height, sit on the floor with your legs straight, and pull the handles toward your ribs. Squeeze your shoulder blades together at the end of each rep. This is the exercise that fixed the rounded-shoulder feeling I got from years of desk work. I do fifteen reps instead of ten on these, because my back tolerates volume better than my knee does. It is also the exercise where I notice the band resistance the most: the last three inches of the pull are where the work really happens.
Third, banded chest press. Anchor the band at head height behind you, face away from the door, and press the handles forward until your arms are straight. Control the return. This hits the chest and triceps without loading the shoulder joint the way a barbell bench press can. I keep the movement slow on the way back, counting to three, because the band is fighting me the whole time. The first time Carmen watched me do this, she asked if the band was going to snap. It has not, and I have been using the same set for eight months.
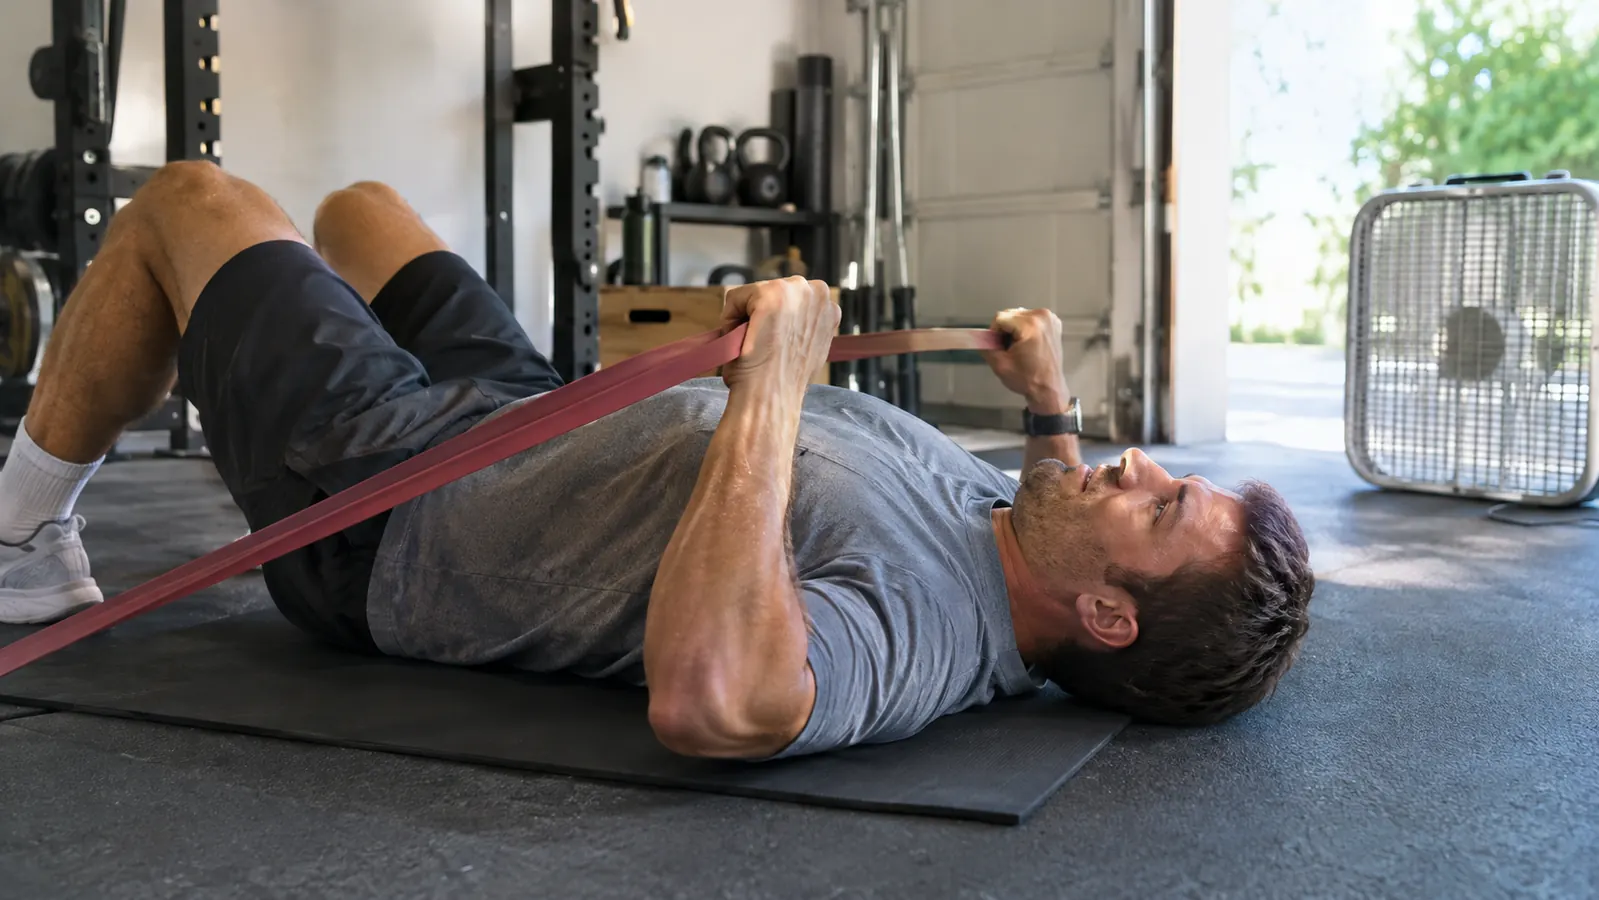
Fourth, banded glute bridges. Lie on your back with your knees bent, loop the band around your thighs just above the knees, and press your hips up. Keep a slight tension on the band the whole time. This one is Carmen's favorite, and it is kind to my lower back. She does three sets of twelve on Saturday mornings while I do my longer session. It is the only exercise in the circuit where we both use the same band, which tells you it is not about heavy resistance. It is about doing the movement properly.
Fifth, banded bicep curls. Stand on the center of the band, hold the handles with your palms facing up, and curl. Keep your elbows pinned to your sides. This is the simplest exercise in the circuit, and it is the one that makes me feel like I actually did something by 6:30 in the morning. I do these last on purpose, because my arms are already tired from the rows and presses. If I did them first, I would use a heavier band and probably regret it by Wednesday.
Step 4: Progress Slowly and Track It
The mistake most people make with resistance bands is staying on the same band forever. Your muscles adapt in about four to six weeks. When the last two reps of every exercise start feeling easy, it is time to move up a band or add a second band to the same handle. I moved from the lightest band to the second band on rows after about seven weeks, and from the second to the third on squats after about ten. The jumps are small, which is exactly what a recovering knee wants.
I keep a small notebook in the garage. Each workout, I write down the band color, the number of reps, and how the last two reps felt. That is enough data to know when to progress. I do not track weight on the bar, because there is no bar. I track whether I am getting stronger, and the notebook tells me the truth. On March 3, for example, I wrote that the second band on rows felt easy, and that is the day I moved up. Without the notebook, I would have stayed on the same band for another month out of habit.
One note on form: bands get harder as they stretch, so the last few inches of each movement are where the work happens. Do not rush through that part. Slow down, control the return, and you will get more from each rep than you would from a heavier band done sloppily. I learned this the hard way in week two, when I tried to rush a set of chest presses and felt a sharp twinge in my shoulder. I dropped back to the light band for a week, and the twinge went away. Slow and controlled is not a style choice. It is how you stay healthy.
Step 5: Cool Down and Store Everything
After the circuit, I spend five minutes cooling down. Banded hamstring stretches, a standing quad stretch, and a doorway chest stretch. This is not optional for me. At 51, the cool-down is what keeps me from walking like a robot the rest of the day. I also do a slow banded knee bend, just sitting back into a shallow squat and holding it for thirty seconds. It sounds like nothing, but it tells me whether the knee is happy before I head inside for breakfast.
Then I unclip the handles, coil each band, and put the whole set back in its pouch. The pouch goes on a shelf next to the box fan. Total cleanup time: about two minutes. That is the real advantage of training at home with bands. There is no gym bag, no car ride, no waiting for a squat rack. Just roll out of bed, train, and get on with your day. On a typical Tuesday, I am done, showered, and sitting down to coffee by 7:15, which is about the time I used to be pulling into the gym parking lot.
What Else Helps
A few things make the routine easier. A door anchor is essential for rows and presses, and the one in the TheFitLife set is sturdy. Ankle straps turn the same bands into leg extensions and cable-style kickbacks, which is how I work my hamstrings without loading my knee. A pair of workout gloves helps if the handles feel rough on your palms during longer sessions. And a cheap timer on your phone beats guessing at rest periods. I use the timer on the TV shelf, because my phone is usually charging in the kitchen and I do not want an excuse to wander off mid-circuit.
If you have a cranky joint like I do, listen to it. The bands let you adjust resistance in small steps, which is exactly what a recovering knee needs. You can start light, build up slowly, and still get a serious workout without ever feeling like you are one rep away from injury. I have had mornings where the knee felt tight and I dropped the squats down to a shallow range of motion, and other mornings where I added a fourth round because everything felt good. The bands make that kind of adjustment easy, because changing the band or the depth takes five seconds.
The whole workout takes 30 minutes, the bands store in a pouch the size of a loaf of bread, and my knee has never felt better.
Start With the Set That Covers Every Step
TheFitLife Resistance Bands Set includes five bands, handles, a door anchor, and ankle straps. It is the only piece of equipment this routine needs, and it fits on a shelf when you are done.
Amazon Check Today's Price on Amazon →