
I did not set out to build a home gym. I set out to find a way to train at 7 a.m. without driving anywhere and without making my left knee angry. I am 51, I work in logistics, and my Fridays are for dinner out and a movie, not for recovering from a workout I hated. That is the real reason the FLYBIRD WB5 adjustable weight bench ended up in my garage.
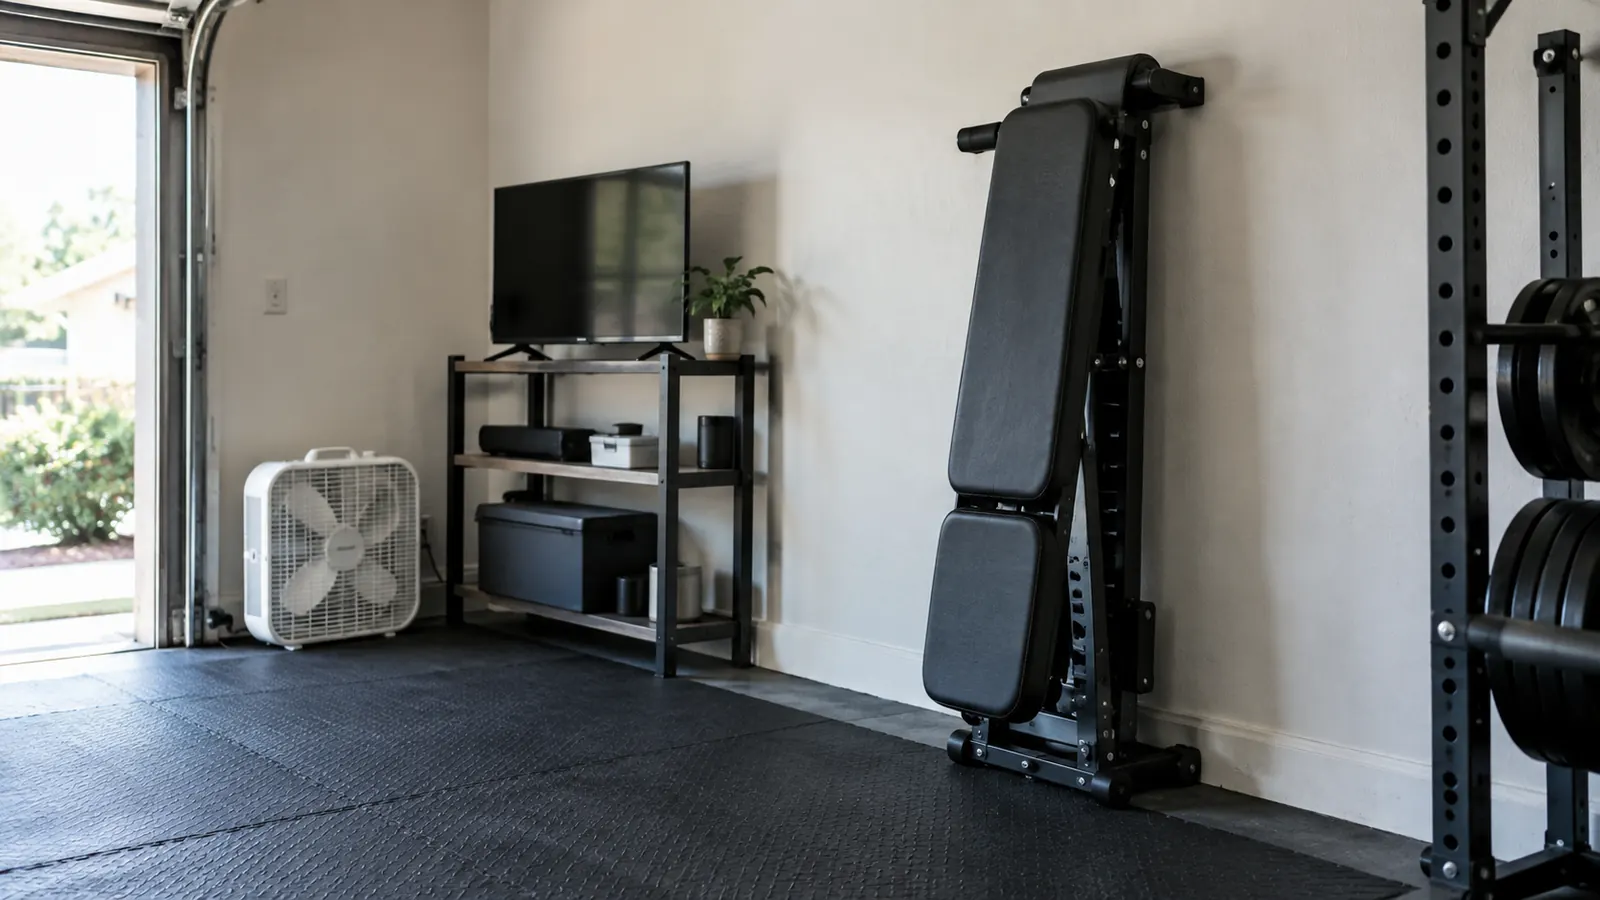
Half of our two-car garage became my training space a few months ago. Rubber stall mats on the concrete, a box fan in the corner, a small TV on a shelf, and one adjustable bench that folds up when I need the space for something else. This guide is the setup process I would want if I were starting over, with the order of operations that saved me the most time.
The Bench I Set Up in Our Garage
The FLYBIRD WB5 adjustable weight bench folds flat, adjusts to the angles I actually use, and has held up to months of early-morning sessions. See the current details and customer reviews on Amazon.
Amazon Check the FLYBIRD WB5 on Amazon →Step 1: Measure Your Space and Plan the Footprint
Before you buy any bench, know where it will live. I measured the garage first: 11 feet by 19 feet of usable floor, with the car taking the left side and my wife Carmen's workbench on the right. The FLYBIRD WB5 needed a clear rectangle about the length of a bench plus room to get on and off. I left a little more than two feet at the head so I did not hit the wall on a flat bench press.
The other measurement that mattered was height. I wanted the bench to slide under the shelf when folded. The FLYBIRD folds up and stands on its end, and I made sure the folded height worked before I drilled anything or moved the shelf. That saved me from the classic mistake of buying gear first and making space second.
A tape measure is the cheapest piece of gym equipment you will ever own. I marked the floor with painter's tape for the bench footprint and for a walking path to the door. The path matters more than you think when you are carrying a loaded barbell or a pair of heavy dumbbells. You do not want to step over anything on the way to the rack.
If your space is tight, remember that an adjustable bench does not have to live in the middle of the room. Mine sits against the wall when folded and comes out only for the workout. The footprint when open is roughly the length of a standard bench, but the folded footprint is much smaller. That was the difference between a garage that still works as a garage and a garage that becomes a storage unit.
Before I ordered the bench, I also checked the ceiling height. Our garage ceiling is 9 feet, so a standing overhead press with dumbbells clears the door track easily. If your ceiling is lower, measure the distance from the floor to the lowest obstruction, then test the movement with a broomstick. That little check prevents the awkward discovery that your new setup only works for seated exercises.
Step 2: Get a Level, Non-Slip Floor
The concrete floor in our garage slopes slightly toward the door, which is normal. The problem is that a bench on a slope wobbles when you start loading weight. I fixed it with a level and a stack of rubber stall mats. The mats even out the small variations, and they give the bench feet something to grip. This is the step most people skip, and it is the one that makes every later step feel solid.
I also learned to check the bench feet before each session. The WB5 has wide feet with rubber pads, but a mat can shift if you drag the bench across it. A quick glance and a nudge with my shoe is enough. That thirty-second check is worth more than any warm-up routine I used to force myself through.
Here is the part I wish someone had told me: the floor also affects how the bench feels during lateral moves. I do a few side-to-side steps with light dumbbells between sets, and the mats keep my feet planted. The same mats protect the concrete from dumbbell dents. One of my dumbbells got away from me on a hot morning and hit the floor hard. The mat took the damage, not the garage slab.
If you are setting up on carpet, put a sheet of plywood under the mats. If you are on a wood floor, use a thicker mat under the bench feet. The goal is the same: a platform that does not shift, slide, or rock. The bench will feel different once it is on a stable surface, and you will wonder why you ever trained on bare concrete.
Step 3: Set Up the Bench and Learn Its Adjustments
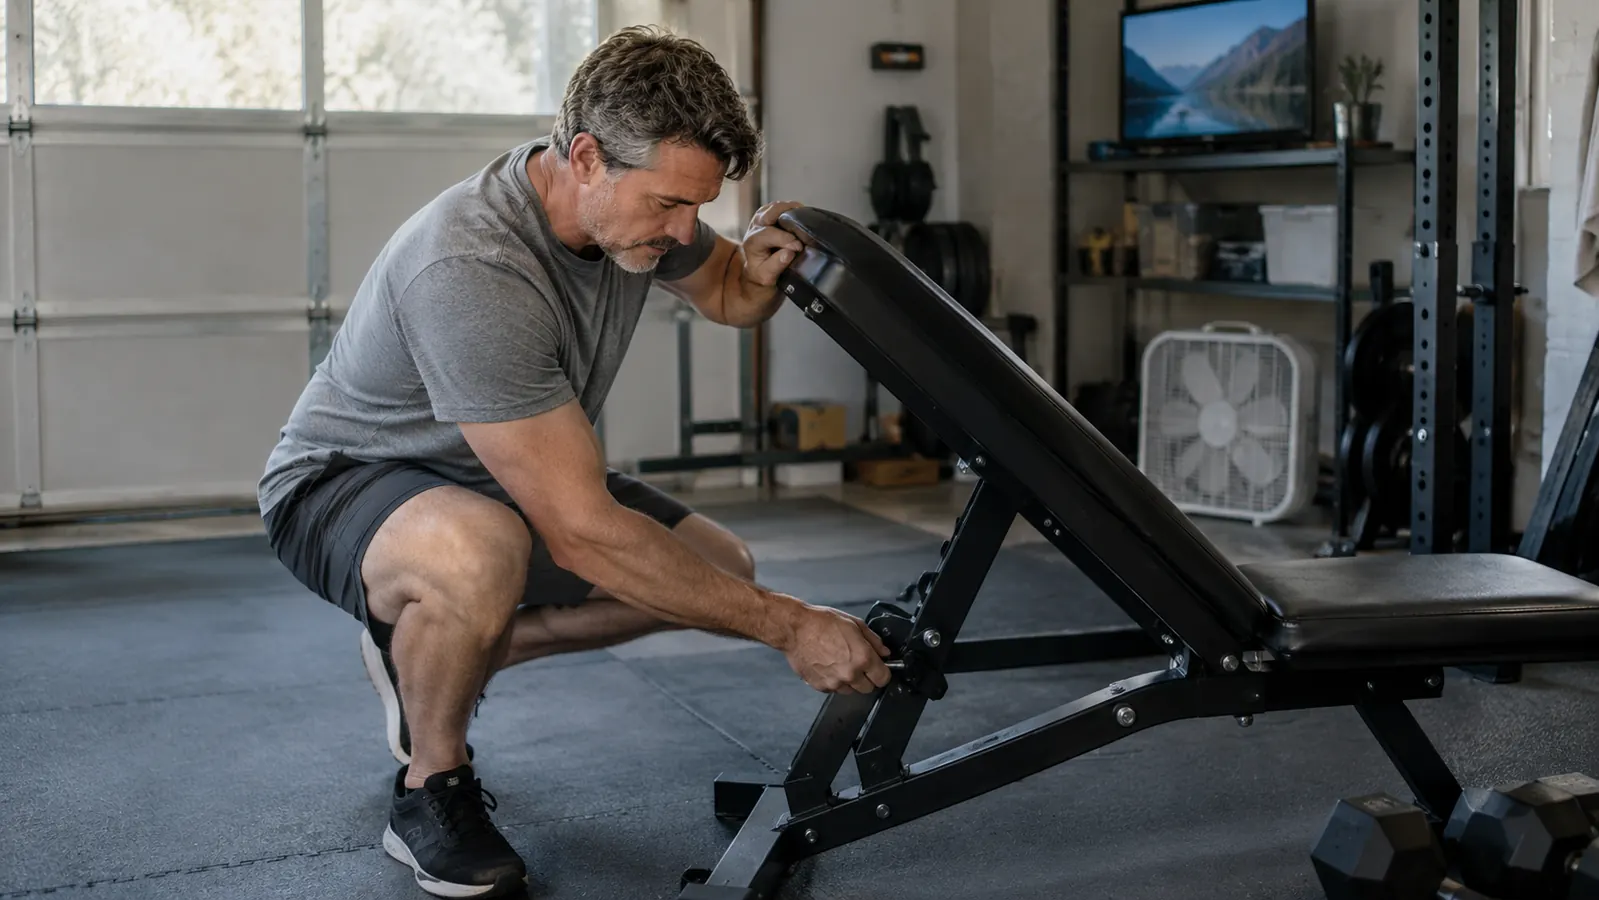
Assembly took me about 20 minutes with a wrench and a Phillips screwdriver. The instructions were mostly clear, and the hardware came in labeled bags, which I appreciated at my age. The only part that took longer was attaching the backrest brackets, and that was because I had the bolts upside down. Flip the instructions over, read the diagram, and it goes faster.
The WB5 has several backrest angles and a seat that adjusts. I spent ten minutes clicking through every position the first morning. I wrote down the ones I actually use: flat for chest presses, one low incline for shoulder work, one upright position for seated curls. Knowing the settings before the workout started meant I was not fumbling mid-set.
One thing I did not expect was how much the seat adjustment changes the feel of an exercise. On the flat setting, I move the seat all the way back. On the incline, I bring it forward one notch. It takes two seconds, but it makes the difference between a press that hits my chest and one that turns into a shoulder exercise. Do not skip this. Adjust the seat and backrest to your own proportions, not to what looks right in a product photo.
The bench has a foldable design, so I also tested the folding mechanism before I trusted it. I folded it up, locked it, leaned it against the wall, and gave it a push. It stayed. That test took less than a minute and it told me I could store the bench vertically without worrying about it falling on Carmen's car. Read the manual's lock diagram once, then use the lock every time.
Step 4: Build a Short, Repeatable Workout
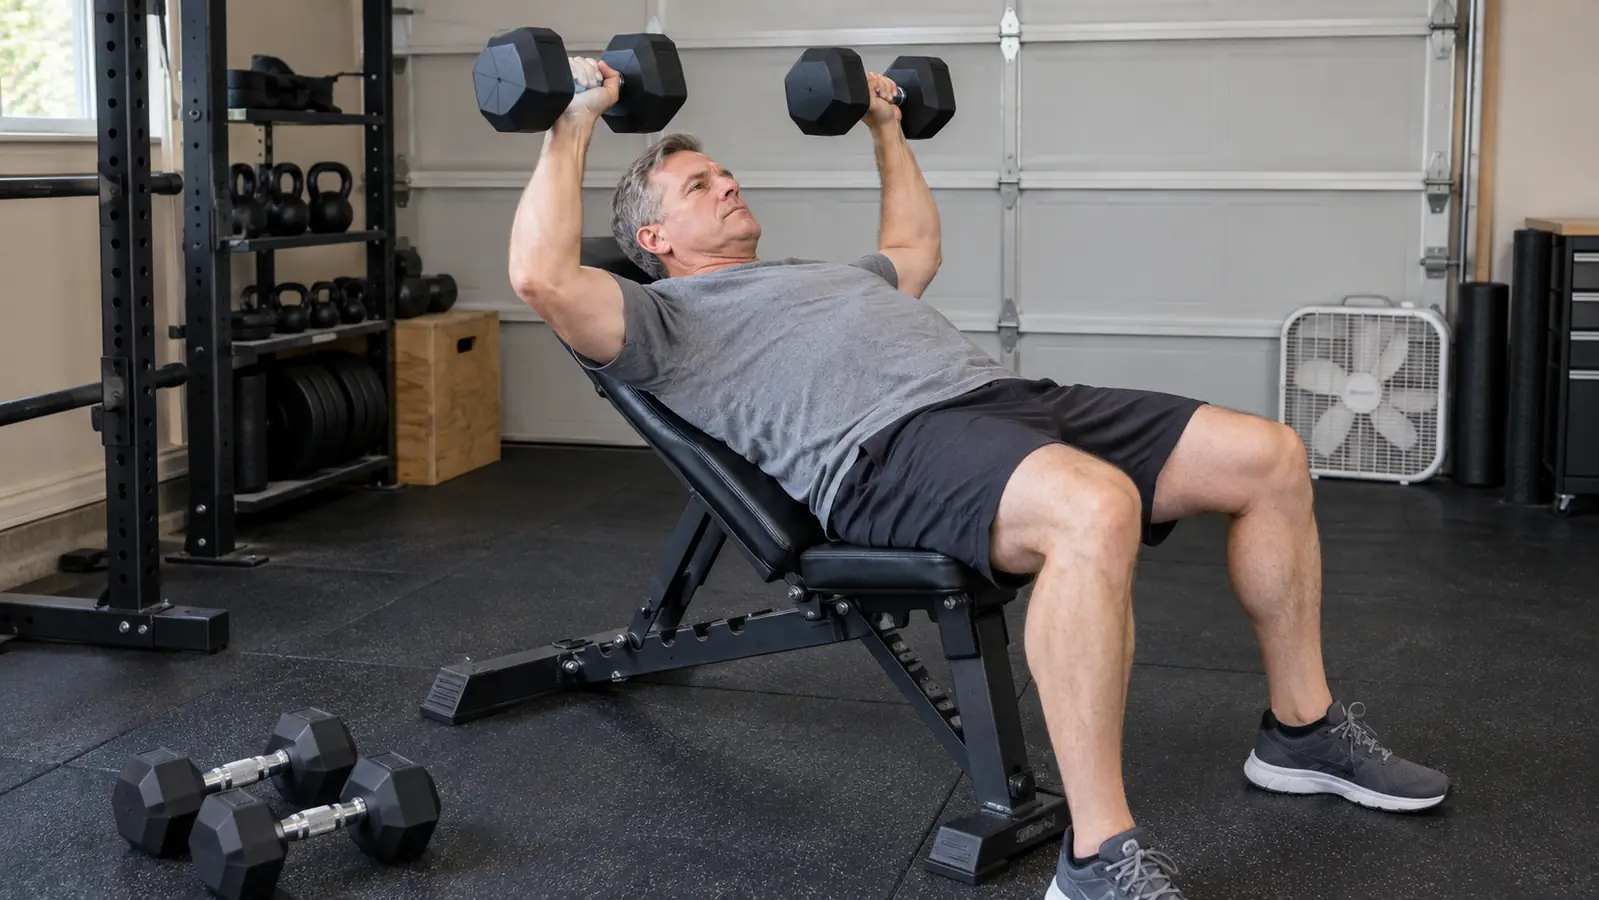
The bench is a tool, not a program. The program is what makes the difference. With a cranky left knee from years of pickup basketball, I keep my leg work low-impact and I do not push deep loaded squats. My current 35-minute morning session looks like this: dumbbell chest press on the flat bench, seated shoulder press on the low incline, seated curls in the upright position, and a few bodyweight leg exercises on the mat.
Three mornings a week is enough for me. Monday, Wednesday, and Saturday. I keep a small notebook on the shelf and write down the sets and weights. The bench has held up to this routine for months, and the adjustments have not loosened or shifted. That consistency is the real win, and it only happened because the setup was simple enough to do before coffee.
For the first two weeks, I did not worry about progressive overload. I just learned the movements and found the right seat positions. Then I added two and a half pounds to the dumbbells when the last rep of the last set started feeling easy. That is the whole system. It is not fancy, but it works, and it does not require a trainer, an app, or a spreadsheet.
If you have a knee like mine, keep the bench at a low incline for pressing. The backrest takes pressure off your lower back, and the seat keeps your hips from sliding. I also do a few minutes of slow cycling on the floor with light resistance before I start. The bench does not need to be part of every warm-up. It just needs to be ready when you are.
I also learned to warm up the shoulders before pressing. Two rounds of 10 arm circles, 10 band pull-aparts, and 10 wall slides take about three minutes. I do them on the mat next to the bench. It is boring, but it keeps my shoulders quiet, and that means I can keep training instead of taking a week off.
Step 5: Make It a Habit, Not a Project
The biggest mistake I made in my twenties was treating exercise like a renovation. I would buy equipment, plan a perfect routine, and then quit when life got busy. At 51, I do the opposite. The FLYBIRD bench lives in the garage, ready to use. I do not have to move furniture or set anything up, because the setup is already done.
I started with two sessions a week for the first month. That sounds slow, but it is honest. The habit came first, and the intensity came later. On Saturday mornings I take a little longer and add an extra set. Friday nights are still for dinner out with Carmen, and I do not feel guilty about it, because the week already had three good workouts in it.
Another thing that helps is keeping the bench visible. I used to close the garage door and pretend the gym did not exist. Now the bench stays out, folded against the wall, with my dumbbells on a small rack next to it. Seeing it every time I park the car is a reminder, not a burden. On days when I do not feel like training, I tell myself I will just do the first exercise. That is usually enough to get started.
The FLYBIRD WB5 is not a piece of equipment that requires a lot of maintenance. I wipe it down after a sweaty session, check the bolts every few weeks, and keep the adjustment pins clean. That is it. The bench has become a normal part of the garage, like the box fan or the shelf, and that is exactly what I wanted. It is not a project. It is just there.
If you live with someone, talk about the setup before you buy. Carmen was not thrilled about losing half the garage at first. I promised her the bench would fold up and that I would keep the floor clear. After a few weeks, she started using the mat for her own stretching. The garage became our space, not just my gym.
What Else Helps
A good bench is the center of the setup, but it is not the whole setup. A pair of adjustable dumbbells, a set of rubber mats, and a fan that actually moves air made the biggest difference for me. The TV on the shelf is for music and the occasional game, not for distraction. If I were starting over, I would buy the bench first, then add the smallest amount of equipment that lets me do a full-body session without leaving the garage.
The other thing that helped was a simple routine on paper. I write down the date, the exercises, the weights, and the number of reps. That record is what tells me whether I am actually getting stronger. It is also what keeps me honest on weeks when I feel like I have been slacking. The notebook is the cheapest training partner I have ever had.
I also recommend a timer. I set mine for 35 minutes and stop when it beeps. That keeps the workout from turning into a two-hour project. When the timer goes off, I put the dumbbells down, fold the bench, and get on with the day. The garage stays tidy, and I do not resent the workout.
Consistency beats intensity when you are 51, have one cranky knee, and still want to enjoy your Friday night dinner out.
Ready to Set Up Your Own Corner?
Start with the bench, measure your space, and build from there. The FLYBIRD WB5 is the one piece of gear that made the garage gym feel real.
Amazon See the FLYBIRD WB5 on Amazon →